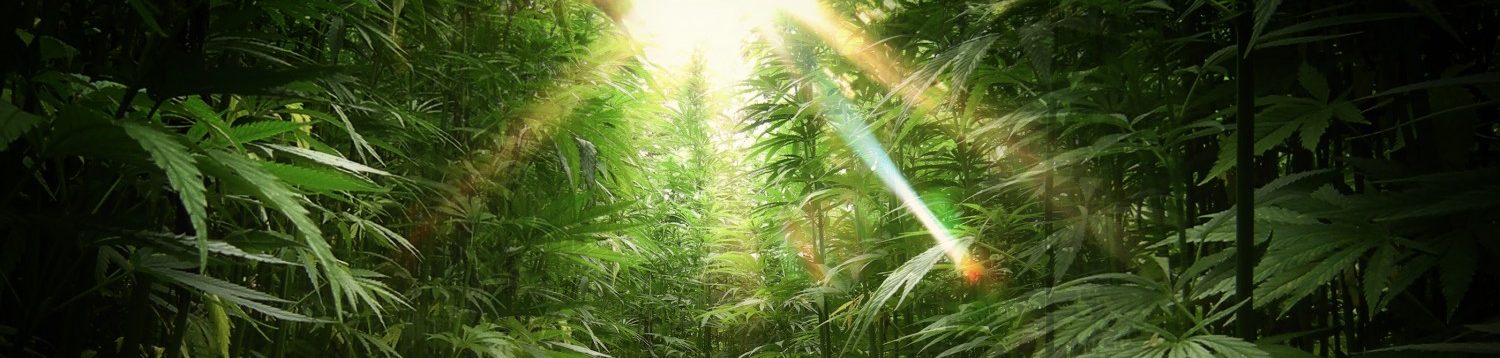
Growing marijuana outdoors can be a rewarding venture, provided one is well-versed with the necessary knowledge and techniques. Outdoor cultivation allows plants to grow in a natural environment, often resulting in robust plants and plentiful yields. This guide aims to equip you with a holistic understanding of the outdoor cultivation process, ensuring you are well-prepared for each phase of the growth cycle.
Choosing the Right Location: The choice of location is paramount in outdoor marijuana cultivation. Here are some factors to consider:
- Climate Considerations: Select a location with a favorable climate, ensuring there are no extreme temperature fluctuations, and the growing season aligns with the marijuana growth cycle.
- Soil Quality: Look for well-draining, fertile soil rich in organic matter. Conduct a soil test to understand its nutrient and pH levels.
- Sunlight Exposure: Cannabis plants require ample sunlight, so choose a spot that receives at least 8 hours of direct sunlight daily.
- Privacy and Security: Due to the legal and social implications, ensure the chosen location offers privacy and security to prevent theft and comply with local laws.
Selecting Your Cannabis Strains: The right strain can significantly impact your cultivation success. Consider the following:
- Climate Adaptability: Choose strains that are well-adapted to your region’s climate.
- Growth Characteristics: Consider the growth habit, height, and flowering time of the strains.
- Resistance: Opt for strains with good resistance to pests and diseases common in outdoor cultivation.
Preparing the Soil:

Soil is the lifeblood of any garden. Preparing it well sets the foundation for healthy plants:
- Soil Testing: Conduct a soil test to determine the pH and nutrient levels. Marijuana thrives in slightly acidic to neutral pH levels (6.0 to 7.0).
- Soil Amendments: Based on the soil test results, amend the soil with necessary nutrients and organic matter like compost or well-rotted manure.
- Preparing Planting Beds: Create raised beds or dig planting holes to ensure good drainage and aeration for the roots.
Germinating Your Seeds:
The journey of your cannabis plants starts with successful germination:
- Methods of Germination: Use paper towel method, direct soil planting, or peat pellets to germinate your seeds.
- Transplanting Seedlings: Once the seedlings develop a set of true leaves, transplant them into your prepared outdoor site.
Planting:
The planting phase is crucial for ensuring a good start for your cannabis plants:
- Best Time to Plant: Plant after the last frost, when the soil has warmed up.
- Plant Spacing: Ensure adequate spacing between plants to prevent overcrowding and promote air circulation.
- Watering Considerations: Water deeply but infrequently to encourage root development.
Nutrition and Fertilization:
Providing the right nutrition is essential for the growth and productivity of your plants:
- Essential Nutrients: Ensure your plants receive the essential nutrients: Nitrogen, Phosphorus, and Potassium.
- Organic vs Chemical Fertilizers: Choose between organic fertilizers like compost and fish emulsion or chemical fertilizers depending on your preference.
- Feeding Schedule: Establish a feeding schedule, adjusting nutrient levels based on the growth stage and plant needs.
Pest and Disease Management:
Outdoor cultivation exposes plants to various pests and diseases:
- Common Pests and Diseases: Learn about common pests and diseases affecting cannabis and monitor your plants regularly.
- Integrated Pest Management (IPM): Employ IPM strategies to prevent and control pest infestations in an environmentally friendly manner.
- Organic Remedies: Explore organic remedies like neem oil and diatomaceous earth for pest and disease control.
Pruning and Training:
Effective pruning and training can significantly enhance yield and plant health:
- Techniques for Pruning: Learn various pruning techniques to promote growth, airflow, and light penetration.
- Training for Increased Yields: Employ training techniques like Low Stress Training (LST) or Screen of Green (SCROG) to maximize light exposure and promote even canopy growth.
Monitoring Growth:
Regular monitoring helps in early detection of potential issues:
- Key Growth Stages: Understand the vegetative and flowering stages, and the unique needs of each stage.
- Signs of Healthy Growth: Look for vibrant green leaves, robust stems, and steady growth as signs of healthy plants.
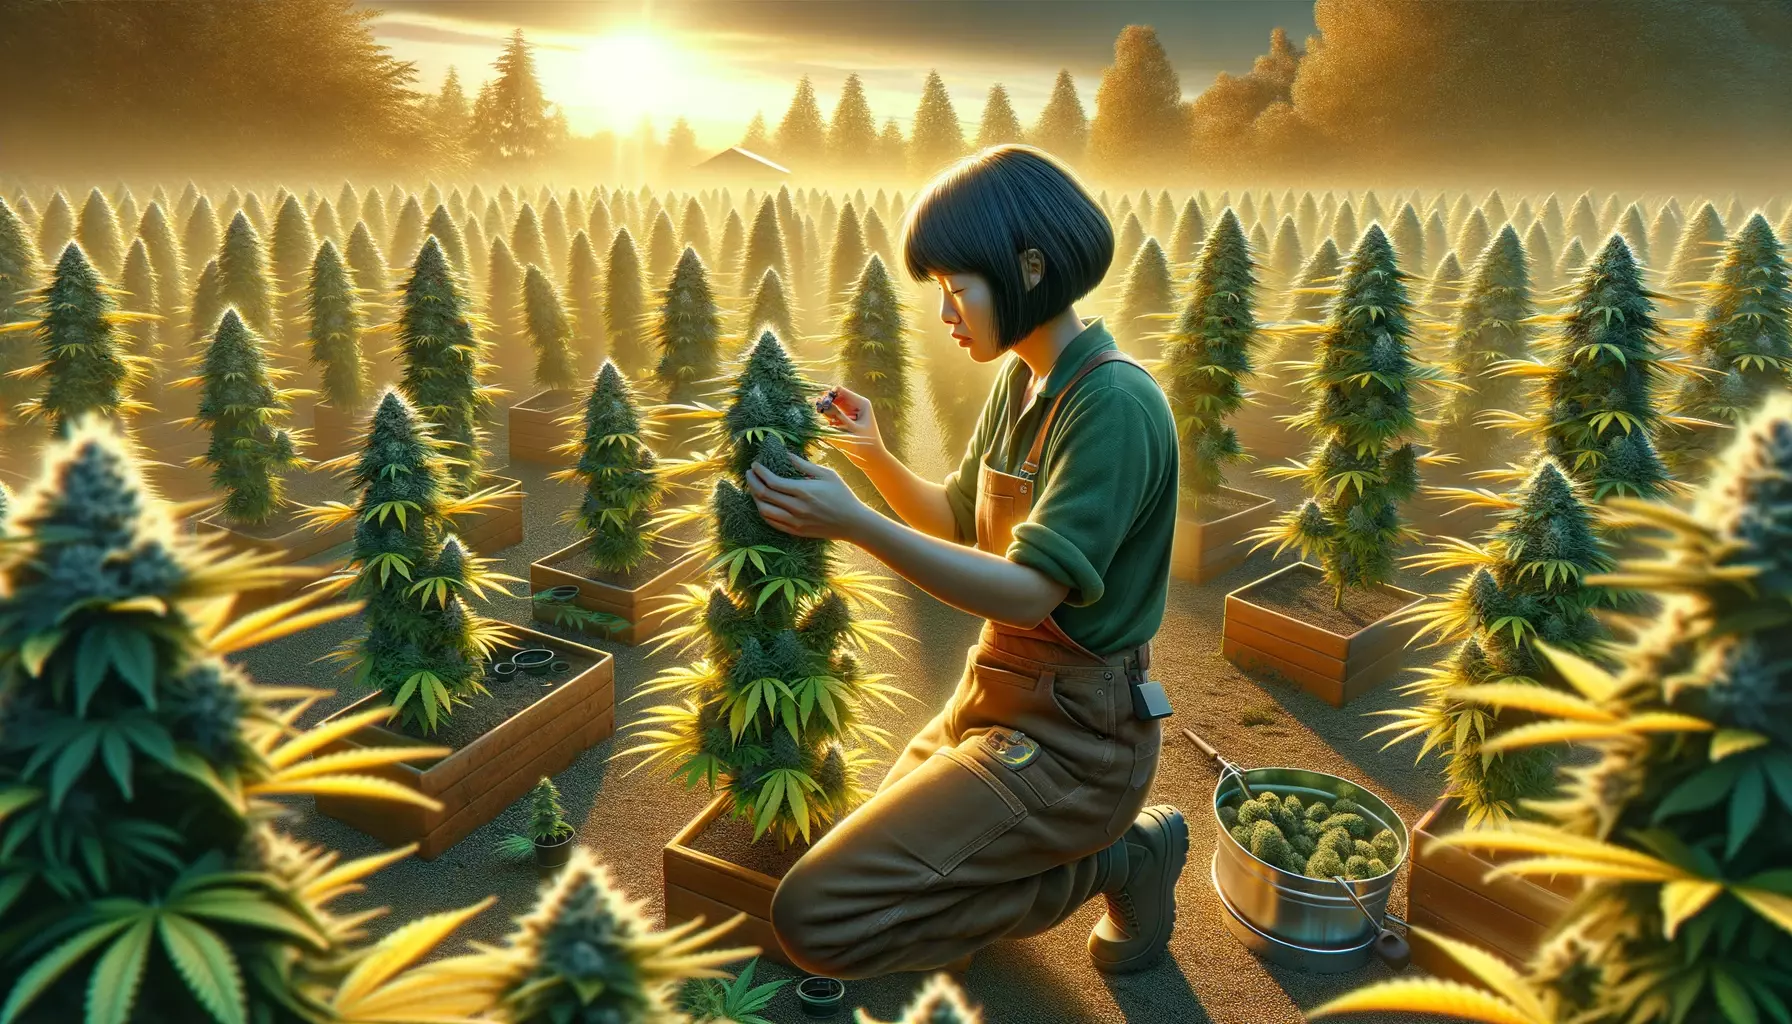
Harvesting:
Harvesting at the right time ensures the potency and quality of your buds:
- Signs of Readiness: Look for the changing color of pistils and trichomes as indicators of maturity.
- Harvesting Procedure: Learn the correct way to harvest, dry, and cure your buds to preserve their potency and flavor.
Growing marijuana outdoors involves a blend of knowledge, patience, and attention to detail. Following this comprehensive guide, from selecting the right location and strain to understanding the nuances of nutrition, pest management, and harvesting, will equip you with the insights needed for a successful outdoor cannabis cultivation journey. Your endeavors in the garden can lead to bountiful harvests, providing both a rewarding experience and a rich supply of home-grown marijuana.